Creating Short-Form Video In Record Time with Timebolt and CapCut
Sep 26, 2023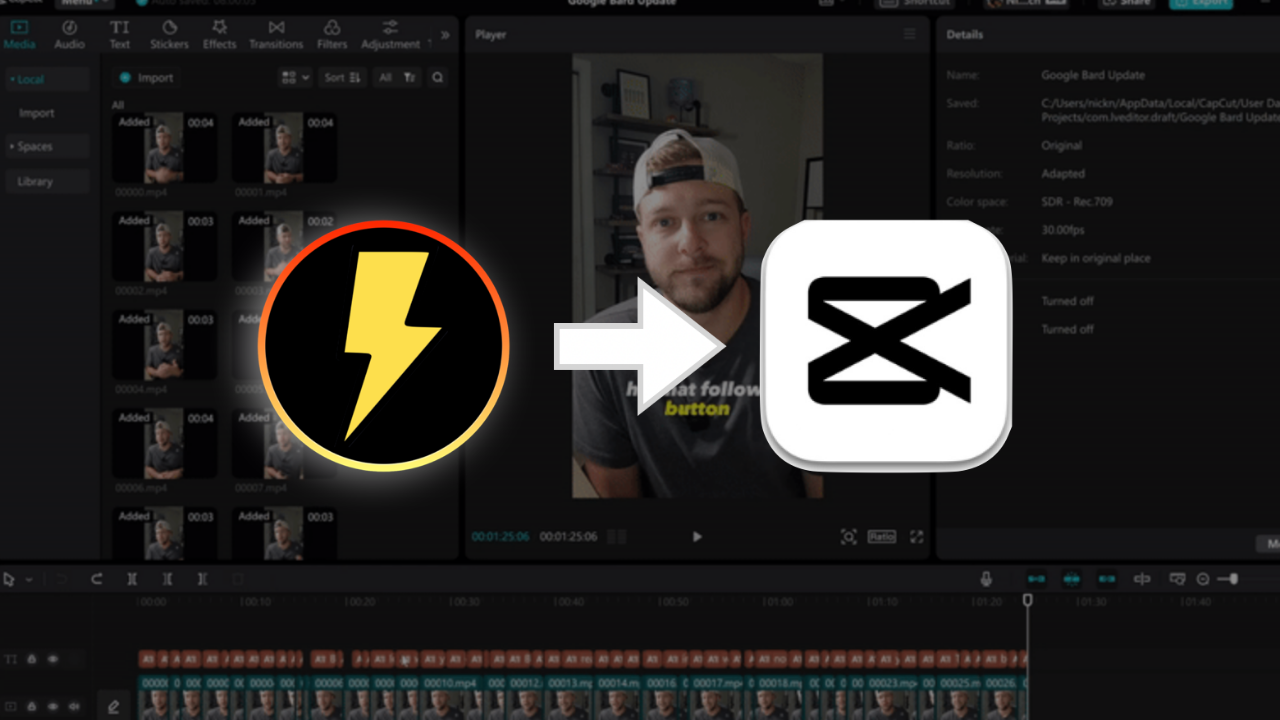
Short-form video is an amazing way to reach new audiences, but it shouldn't take you 3 hours to create 30-60 second clips. In this post, I'm going to show you how you can use Timebolt and CapCut to create short-form video fast.
Continue reading, or watch the entire process here:
Batch Recording Your Short-Form Content
The Power of Batch Recording
Batch recording is like meal prepping for content creators. Instead of scrambling every day to cook up fresh content, you prepare multiple servings in one go.
The benefits?
Consistency in your content release, reduced setup and teardown time, and a more efficient use of your creative energy.
Plan and Script Ahead
Before hitting that record button, take a moment to plan. Think about the themes or topics you want to cover in your short videos.
Scripting doesn't mean you need a word-for-word screenplay; even a few bullet points or a rough outline can make a world of difference. This ensures you have a clear direction for each video, reducing the chances of multiple retakes and ensuring your message is clear and concise.
One Continuous Recording Session
Now, here's a trick that might seem counterintuitive but is a game-changer:
Instead of recording each video separately, hit record and keep the camera rolling. Move from one video topic to the next without turning off your camera.
Use Timebolt for Editing Automation
With your videos all recorded into one long file, we're going to use Timebolt to chop up and edit your videos with lightning speed.
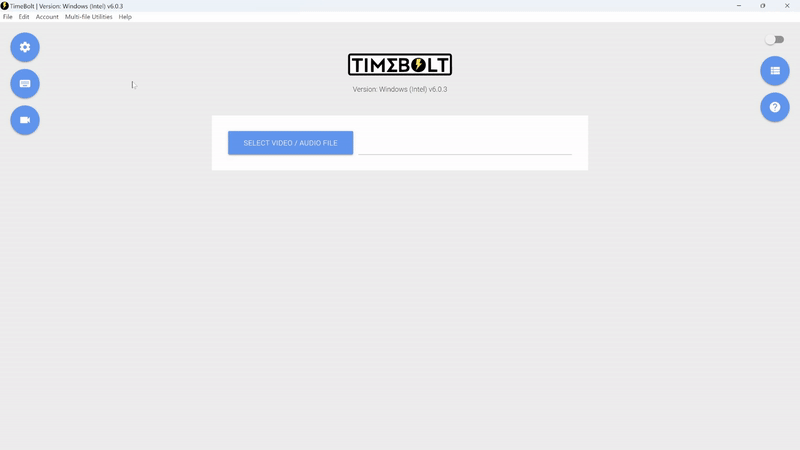
Step 1: Upload Your Video
Start by launching Timebolt and uploading your video file.
This is the raw material you'll be refining into polished short-form content.
Step 2: Automatic Dead Space Removal
Navigate to the 'Settings' tab.
Here, you'll find an option labeled "Automatically Detect Filter Value in Decibels". Check this box.
Like magic, Timebolt will scan your video and automatically trim out all the silent parts, leaving you with just the sections where you're speaking.
No more spending hours manually cutting out long pauses in your footage!
Step 3: UmCheck Yourself Before Your Wreck Yourself
Run UmCheck button and let Timebolt do it's thing.
Step 4: Sculpt your timeline
The three keys you must know are S-O-B.
First put 'Preview' at 1.5x speed (located above video in preview)
Now press the spacebar after clicking on the timeline.
As the playhead plays click:
S - split playhead
O - Turn current scene off and skip to the next.
B - Backcut the scene you just watched (and playhead doesn't have to stop).
Step 5: Make impact with Dynamic Punch In Zoom Effects
If you want to give your videos a little more of an engaging look and feel, we can also take care of that directly inside Timebolt.
Move the play head to the clip you'd like to apply a Punch In effect to.
Right+Click and select your preferred Punch In percentage.
Likewise, you can press "P" on you keyboard to add the effect.
Continuing to press "P" will cycle through the various Punch In percentages
Note: You can easily adjust the percentages that are applied in your video by:
Going to Settings.
Scroll to Custom Punch.
Set your preferred percentages for A, B, and C
Step 6: Exporting Your Video from Timebolt
With all the dead space removed and only your best stuff left, it's time to export your video. There are a few exporting options to choose from depending on what you choose to do next with your video.
Exporting Your Finished Video in Timebolt - No Further Editing Needed
If you're happy with the final output for your video and aren't going to make any further edits, we can simply export the video:
Scroll down to Add to Render Queue.
Click the Render Queue icon to see all the videos that are queued up.
Click Start Rendering.
Exporting Your Video with Turbo Mode
Sometimes the videos you've edited down are still too long for certain social media platforms. As an example, YouTube Shorts only allows 60 seconds per video.
If you're video is a bit too long to publish as a Short, you can activate Turbo Mode to speed up the playback speed of your video.
Scroll down to Activate Turbo Mode.
Select your desired video duration (Time Limit to Fit Within), or choose a preferred Speed Multiplier.
Note: When you adjust Time Limit to Fit Within, the Speed Multiplier is automatically adjusted for you.
Click Add to Render Queue, and your video will be exported at the new duration you've selected.
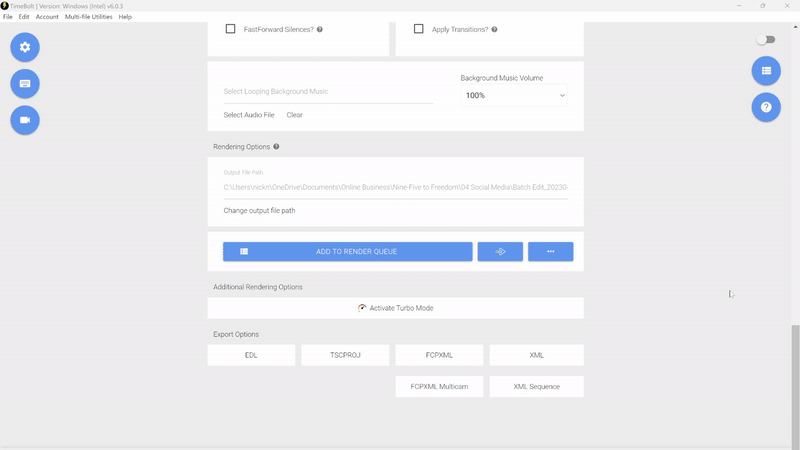
Exporting Your Video for Further Editing
In many cases, you may want to add captions or additional elements to your videos to make them more engaging. In the next section we're going to walk through the process of adding captions to your videos using CapCut, but first we need to export the video in a way that makes working in CapCut easy.
Rather than clicking Add to Render Queue and exporting our video as one full clip, we're going to export the video into individual clips, based on the cuts made in Timebolt. To do this:
Scroll down to the bottom and click the three dots icon.
Choose Export Clips to Folder.

This will create a new folder with the video clips that we'll use inside CapCut.
Note: CapCut will auto-generate captions for your video. The captions tend to be more accurate when generated from pre-cut clips. This is why we Export Clips to Folder as opposed to simply exporting the entire video as one clip.
Use CapCut for Captions and Final Touches
Now that you've streamlined your video with Timebolt, we can dive into CapCut to add those final touches that make your content stand out.
CapCut is an incredibly powerful, and free, mobile app, but most people don't realize there is also a free desktop app for CapCut as well. For these next steps, we're going to use the desktop version of CapCut.
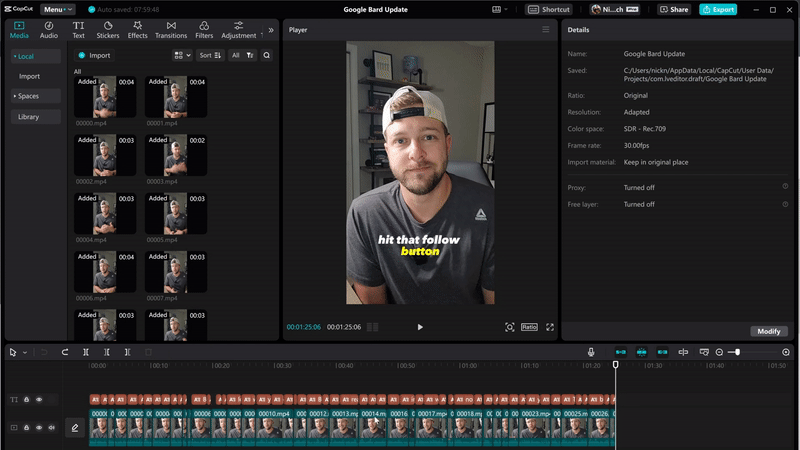
Step 1: Generating Captions in CapCut Automatically
Begin by launching CapCut and importing the video you refined in Timebolt. If you followed the steps above, you should have a folder with several clips for your video.
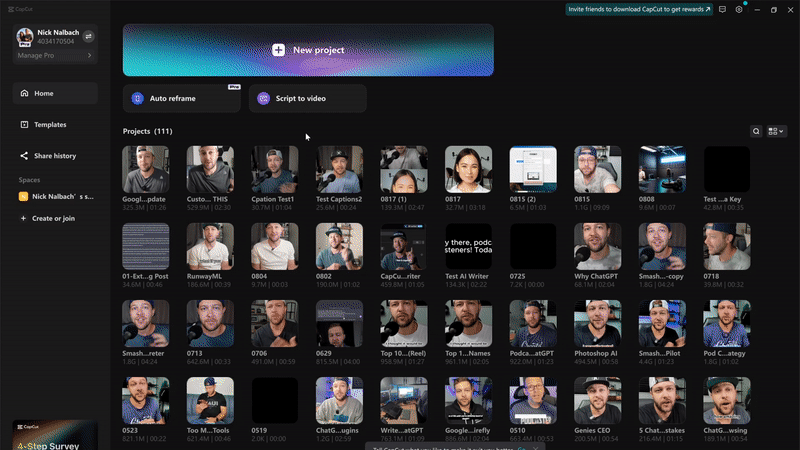
Select all these clips and import them into CapCut.
Next click and drag to select all your newly imported clips, or press Ctrl+A (Cmd+a on Mac).
Click Text from the top menu.
Select Auto Captions from the left sidebar.
Now, CapCut will automatically generate captions for your video

Step 2: Editing and Styling Your Captions in CapCut
Once your captions are generated, you can make further edits to them and even apply different styles to them.
In the upper-left panel you'll see options for Captions, Text, Animation, and Text-to-Speech.
With the Apply to All option selected, any changes you make in this panel with automatically be applied to every caption clip in your timeline.
Captions: Quickly edit any text that was incorrectly generated.
Text: Adjust font, font sizes, choose from Preset Styles, and adjust other settings.
Animation: Give your text some extra flair by choosing from pre-generated animation styles.
Text-to-Speech: Choose from dozens of voices to read your text or captions aloud.
For being a free video editing app, CapCut is extremely powerful and includes even more editing tools beyond the automated caption and presets. Don't be afraid to check out other options and tutorials for making your videos stand out even more!
Conclusion
There's no doubt that short-form video content is a popular medium right now. Traditional video editing software can be cumbersome or come with a steep learning curve that make it difficult to use. Luckily, software is getting better, easier, and sometimes even automated for you!
Together, Timebolt and CapCut are a powerful duo of simple to use video editing platforms that can give your short-form content a competitive edge.
With Timebolt, your videos are quickly chopped and refined, saving you hours of manual and tedious pre-editing work.
And with CapCut, adding style and captions to your videos are a breeze. In most cases, these steps are automatically done for you!
