Cut and sync multiple video and audio files directly from TimeBolt. For multi-camera or multi-track workflows.
To Install
1. Download the Integration Script
Right-click and Save As this file:
https://timebolt-update-server.s3.amazonaws.com/TimeBoltResolveIntegration.lua
For Windows
Copy and paste the .lua file into the following folder:
C:\Users\<username>\AppData\Roaming\Blackmagic Design\DaVinci Resolve\Support\Fusion\Scripts\Comp
You can also open this folder quickly by pasting this path in File Explorer:
%appdata%\Blackmagic Design\DaVinci Resolve\Support\Fusion\Scripts\Comp
For Mac
Copy and paste the .lua file into the following folder:
/Library/Application Support/Blackmagic Design/DaVinci Resolve/Fusion/Scripts/Comp
You can also open this folder by running this command in Terminal:
Or by navigating inside Resolve through:
Help → Developer → Fusion → Scripts → Comp
How to Use
Do all your timeline cut work inside TimeBolt first. Then save your edits as a .json and apply in Resolve.
Steps
-
Open your video file in TimeBolt and adjust cuts as needed.
-
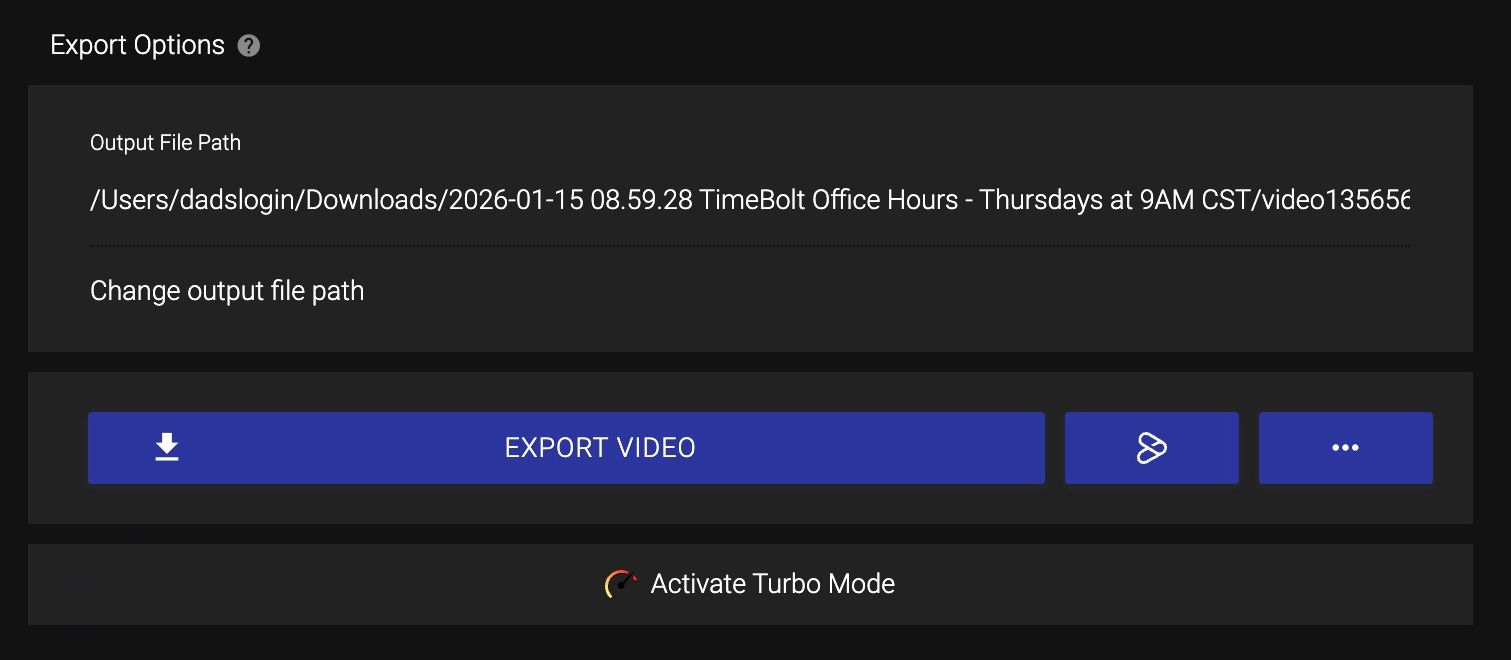
Click Save Timeline Cuts to export a .json file.
-
Open DaVinci Resolve and create a new project.
-
Add your source video file to the timeline.
-
Go to Workspace → Scripts → Comp → TimeBoltResolveIntegration.
-
Click Apply JSON File, then navigate to your saved .json file.
-
Click Open — your cuts will instantly apply in Resolve.
If the script doesn’t appear, verify that it’s installed in the Fusion → Scripts → Comp directory and restart Resolve.
Punch, Markers, and FastForward enhancements export through the Integration.
Configuration Examples
For setup details and video examples, see the Resolve Integration Blog Post for how to configure:
-
Single audio track
-
Single video with single audio track
-
Single video with multiple audio tracks
-
Multiple synchronized video and audio files
VIDEOS
DaVinci Resolve Master Class