TimeBolt Davinci Resolve Integration
Apr 02, 2023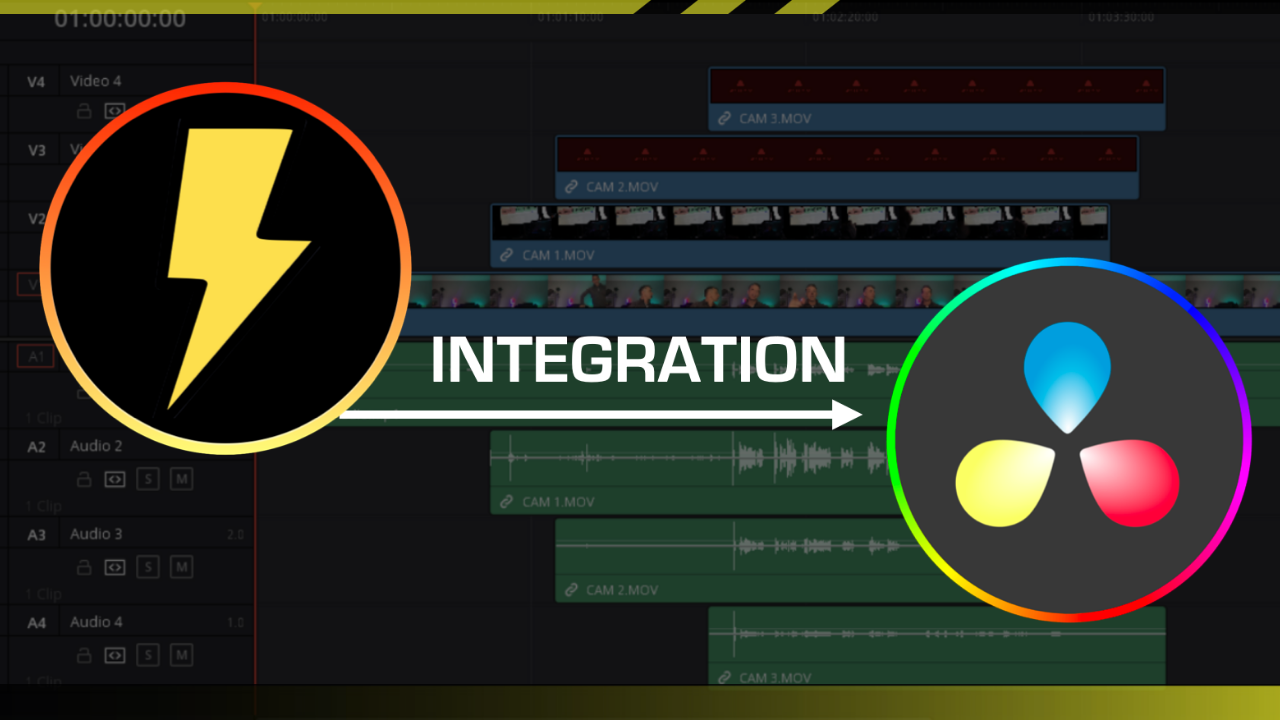
Download This File (Right Click and Save)
How To Install The Integration
Windows
- Download the file above (TimeBoltResolveIntegration.lua).
- Copy the downloaded file to path:
- ‘C:\Users\<username>\AppData\Roaming\Blackmagic Design\DaVinci Resolve\Support\Fusion\Scripts\Comp’
- You can also open the same folder by putting the following path in your File Explorer.
%appdata%\Blackmagic Design\DaVinci Resolve\Support\Fusion\Scripts\Comp
Mac
- Download the file above (TimeBoltResolveIntegration.lua).
- Copy the downloaded file to path:
- ‘/Library/Application\ Support/Blackmagic\ Design/DaVinci\ Resolve/Fusion/Scripts/Comp’
- You also open this folder by typing the below command in the terminal.
open /Library/Application\ Support/Blackmagic\ Design/DaVinci\ Resolve/Fusion/Scripts/Comp
How To Use The Integration
In this step, we're going to take a look at how to set-up the Timeline to use the TimeBolt Integration for Davinci Resolve. We've broken the step down into the various permutations of files that are available.
Single Track Audio

As shown in the image above, we drop the audio file (.wav, .aac etc) in the Timeline Sequence and align it to start from zero seconds.
Steps
- Open the audio file in TimeBolt and adjust the cuts to your liking.
- Save .json from TimeBolt.
- In Resolve, open the integration from…
- ‘Workspace → Scripts → Comp → TimeBoltResolveIntegration’.
- Click on the Apply JSON File button and navigate to the .json file saved from TimeBolt.
- Click open and bam! Your cuts are ready.
Note: TimeBolt creates a new Timeline whose name starts with ‘TimeBolt’ and places your cuts in that new Timeline.
Single Video Track with Single Audio Track

As shown in the image, we have a video file which has a single stereo audio track. Again, this file is dropped in the Timeline Sequence at zero seconds.
Steps
- Open the video file in TimeBolt and adjust the cuts to your liking.
- Save .json from TimeBolt.
- In Resolve, open the integration from…
- ‘Workspace → Scripts → Comp → TimeBoltResolveIntegration’.
- Click on the Apply JSON File button and navigate to the .json file saved from TimeBolt.
- Click open and bam! Your cuts are ready.
Note: TimeBolt creates a new Timeline whose name starts with ‘TimeBolt’ and places your cuts in that new Timeline.
Single Video Track with Multiple Audio Tracks

As shown in the image, we have a video file which has multiple stereo audio tracks. Again, this file is dropped in the Timeline Sequence at zero seconds.
Steps
- Open the video file with multiple audio tracks in TimeBolt and adjust the cuts to your liking.
- Save .json from TimeBolt.
- In Resolve, open the integration from…
- ‘Workspace → Scripts → Comp → TimeBoltResolveIntegration’.
- Click on the Apply JSON File button and navigate to the .json file saved from TimeBolt.
- Click open and bam! Your cuts are ready.
Note: TimeBolt creates a new Timeline whose name starts with ‘TimeBolt’ and places your cuts in that new Timeline.
Multiple Synchronized Video / Audio Files (MultiCam)
CASE #1

As you can see in the image, we have a Timeline Sequence set-up with files from a multi-camera project.
Before we dive into the steps, we'd like to point out a few things about this particular structure.
Each video track corresponds with the audio track with the same index.
Ex: Video Clip in V1 track and Audio Clip in A1 track are from the same file and Video Clip in V2 track and Audio Clip in A2 track are from the same file and so on. The Extension will give unstable results if this convention is not followed.
CASE #2

The obvious next question is—what if I have a Master Audio File (.wav, .aac etc)? If you only have a audio file on A1, you’ll not be able to have an video track on V1.
In that case, you'd have to leave the video track empty as shown in the image.
CASE #3

Another case could be where, you have an audio file along with all your multi-cam files but that audio file is not your Master Audio file. In that case, you can just drop that clip on the highest audio track. You can do this for multiple audio files.
Please Note
Always remember that your Master File or the file that you TimeBolt for cuts should start from zero seconds (which also means it starts first) in the Timeline. The saved .json file from TimeBolt doesn't care whether it originated from a video file or audio file. It is just a collection of timestamps and can be applied to any clip—video or audio.
Steps
- Open the Master file (video or audio file) in TimeBolt and adjust the cuts to your liking.
- Save .json from TimeBolt.
- After setting up the Timeline as shown in Resolve, open the integration from…
- ‘Workspace → Scripts → Comp → TimeBoltResolveIntegration’.
- Click on the Apply JSON File button and navigate to the .json file saved from TimeBolt.
- Click open and bam! Your cuts are ready.
Note: TimeBolt creates a new Timeline whose name starts with ‘TimeBolt’ and places your cuts in that new Timeline.
Conclusion
These are the set-ups that the Integration supports right out of the box. You remove silence so fast, it almost feels like magic. If you're going for a more complex set-up, you can always create a new Timeline, apply the .json file on the tracks in that sequence and then copy the cuts back into your main sequence.
